 网硕互联帮助中心
1.用同学的号免费获得一个服务器
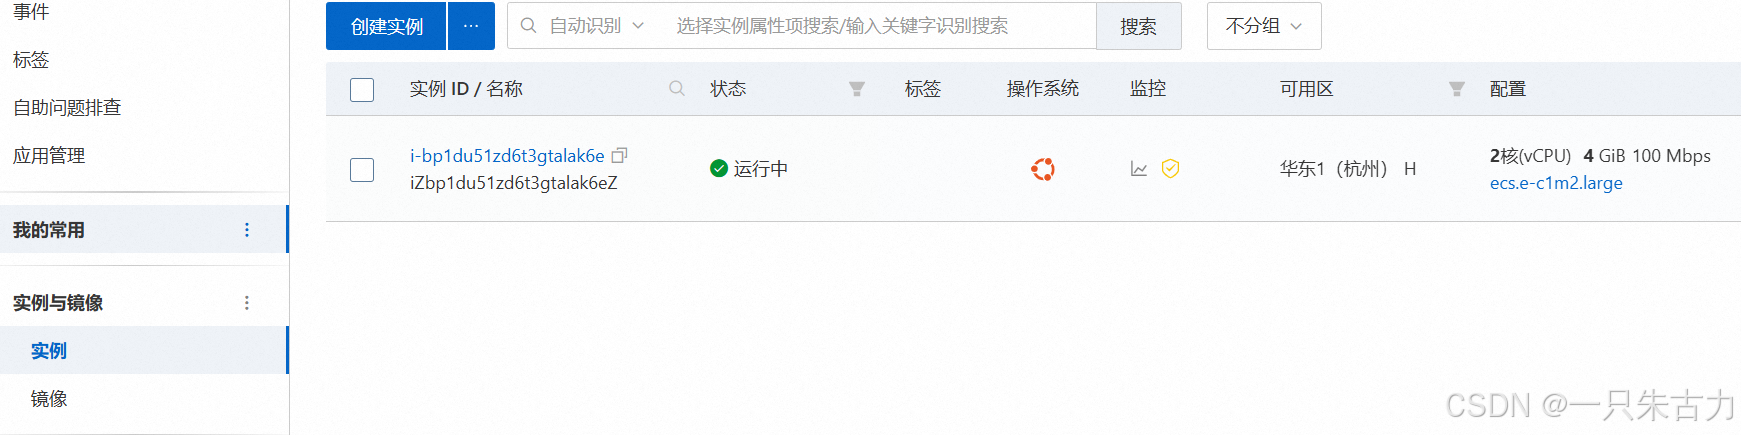
1.创建实例
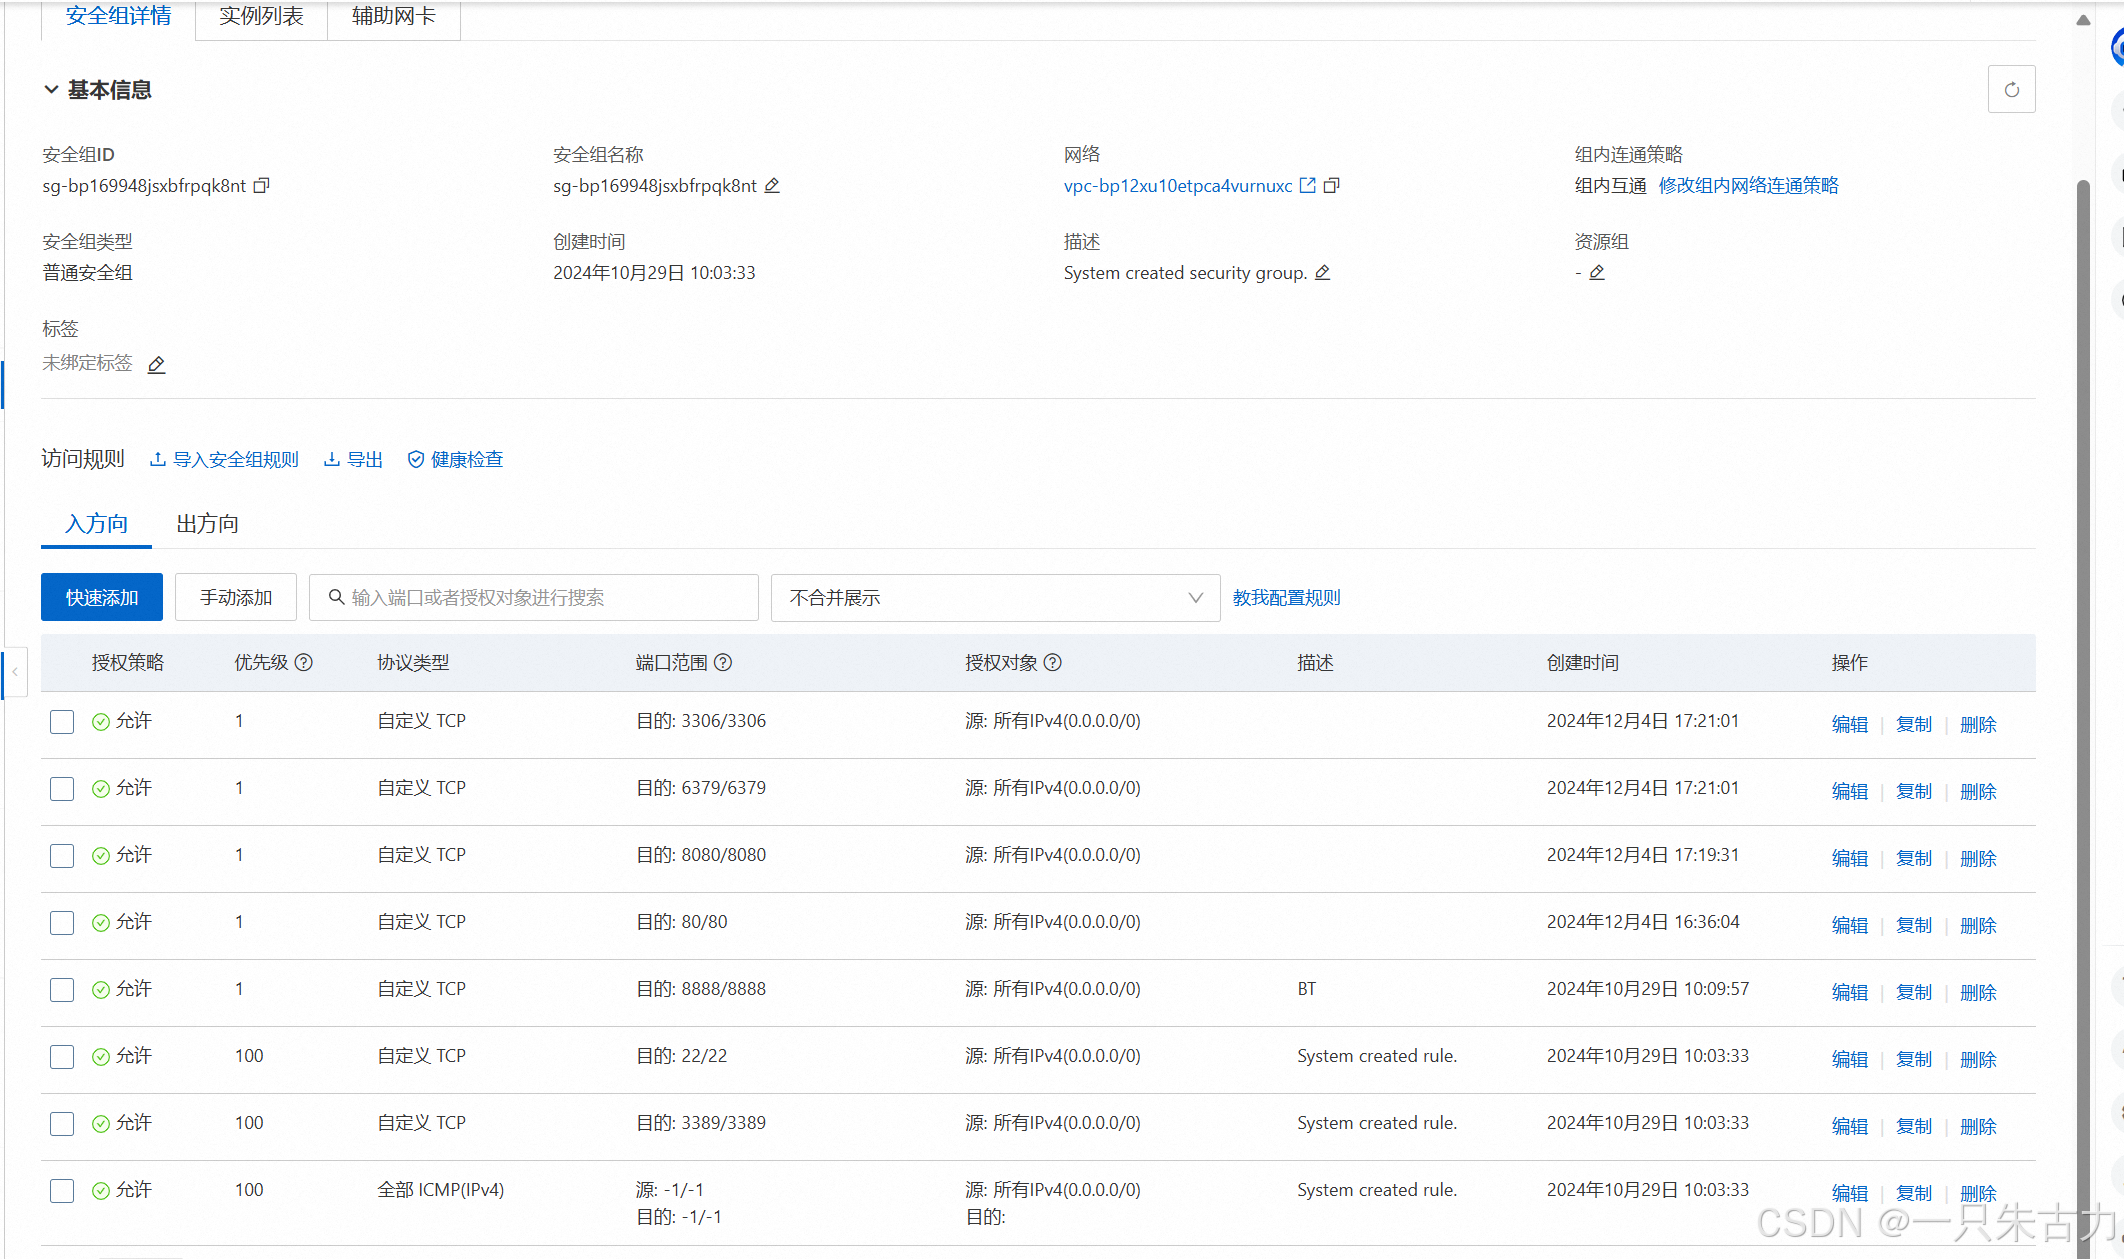
2.开放需要的端口,安全组
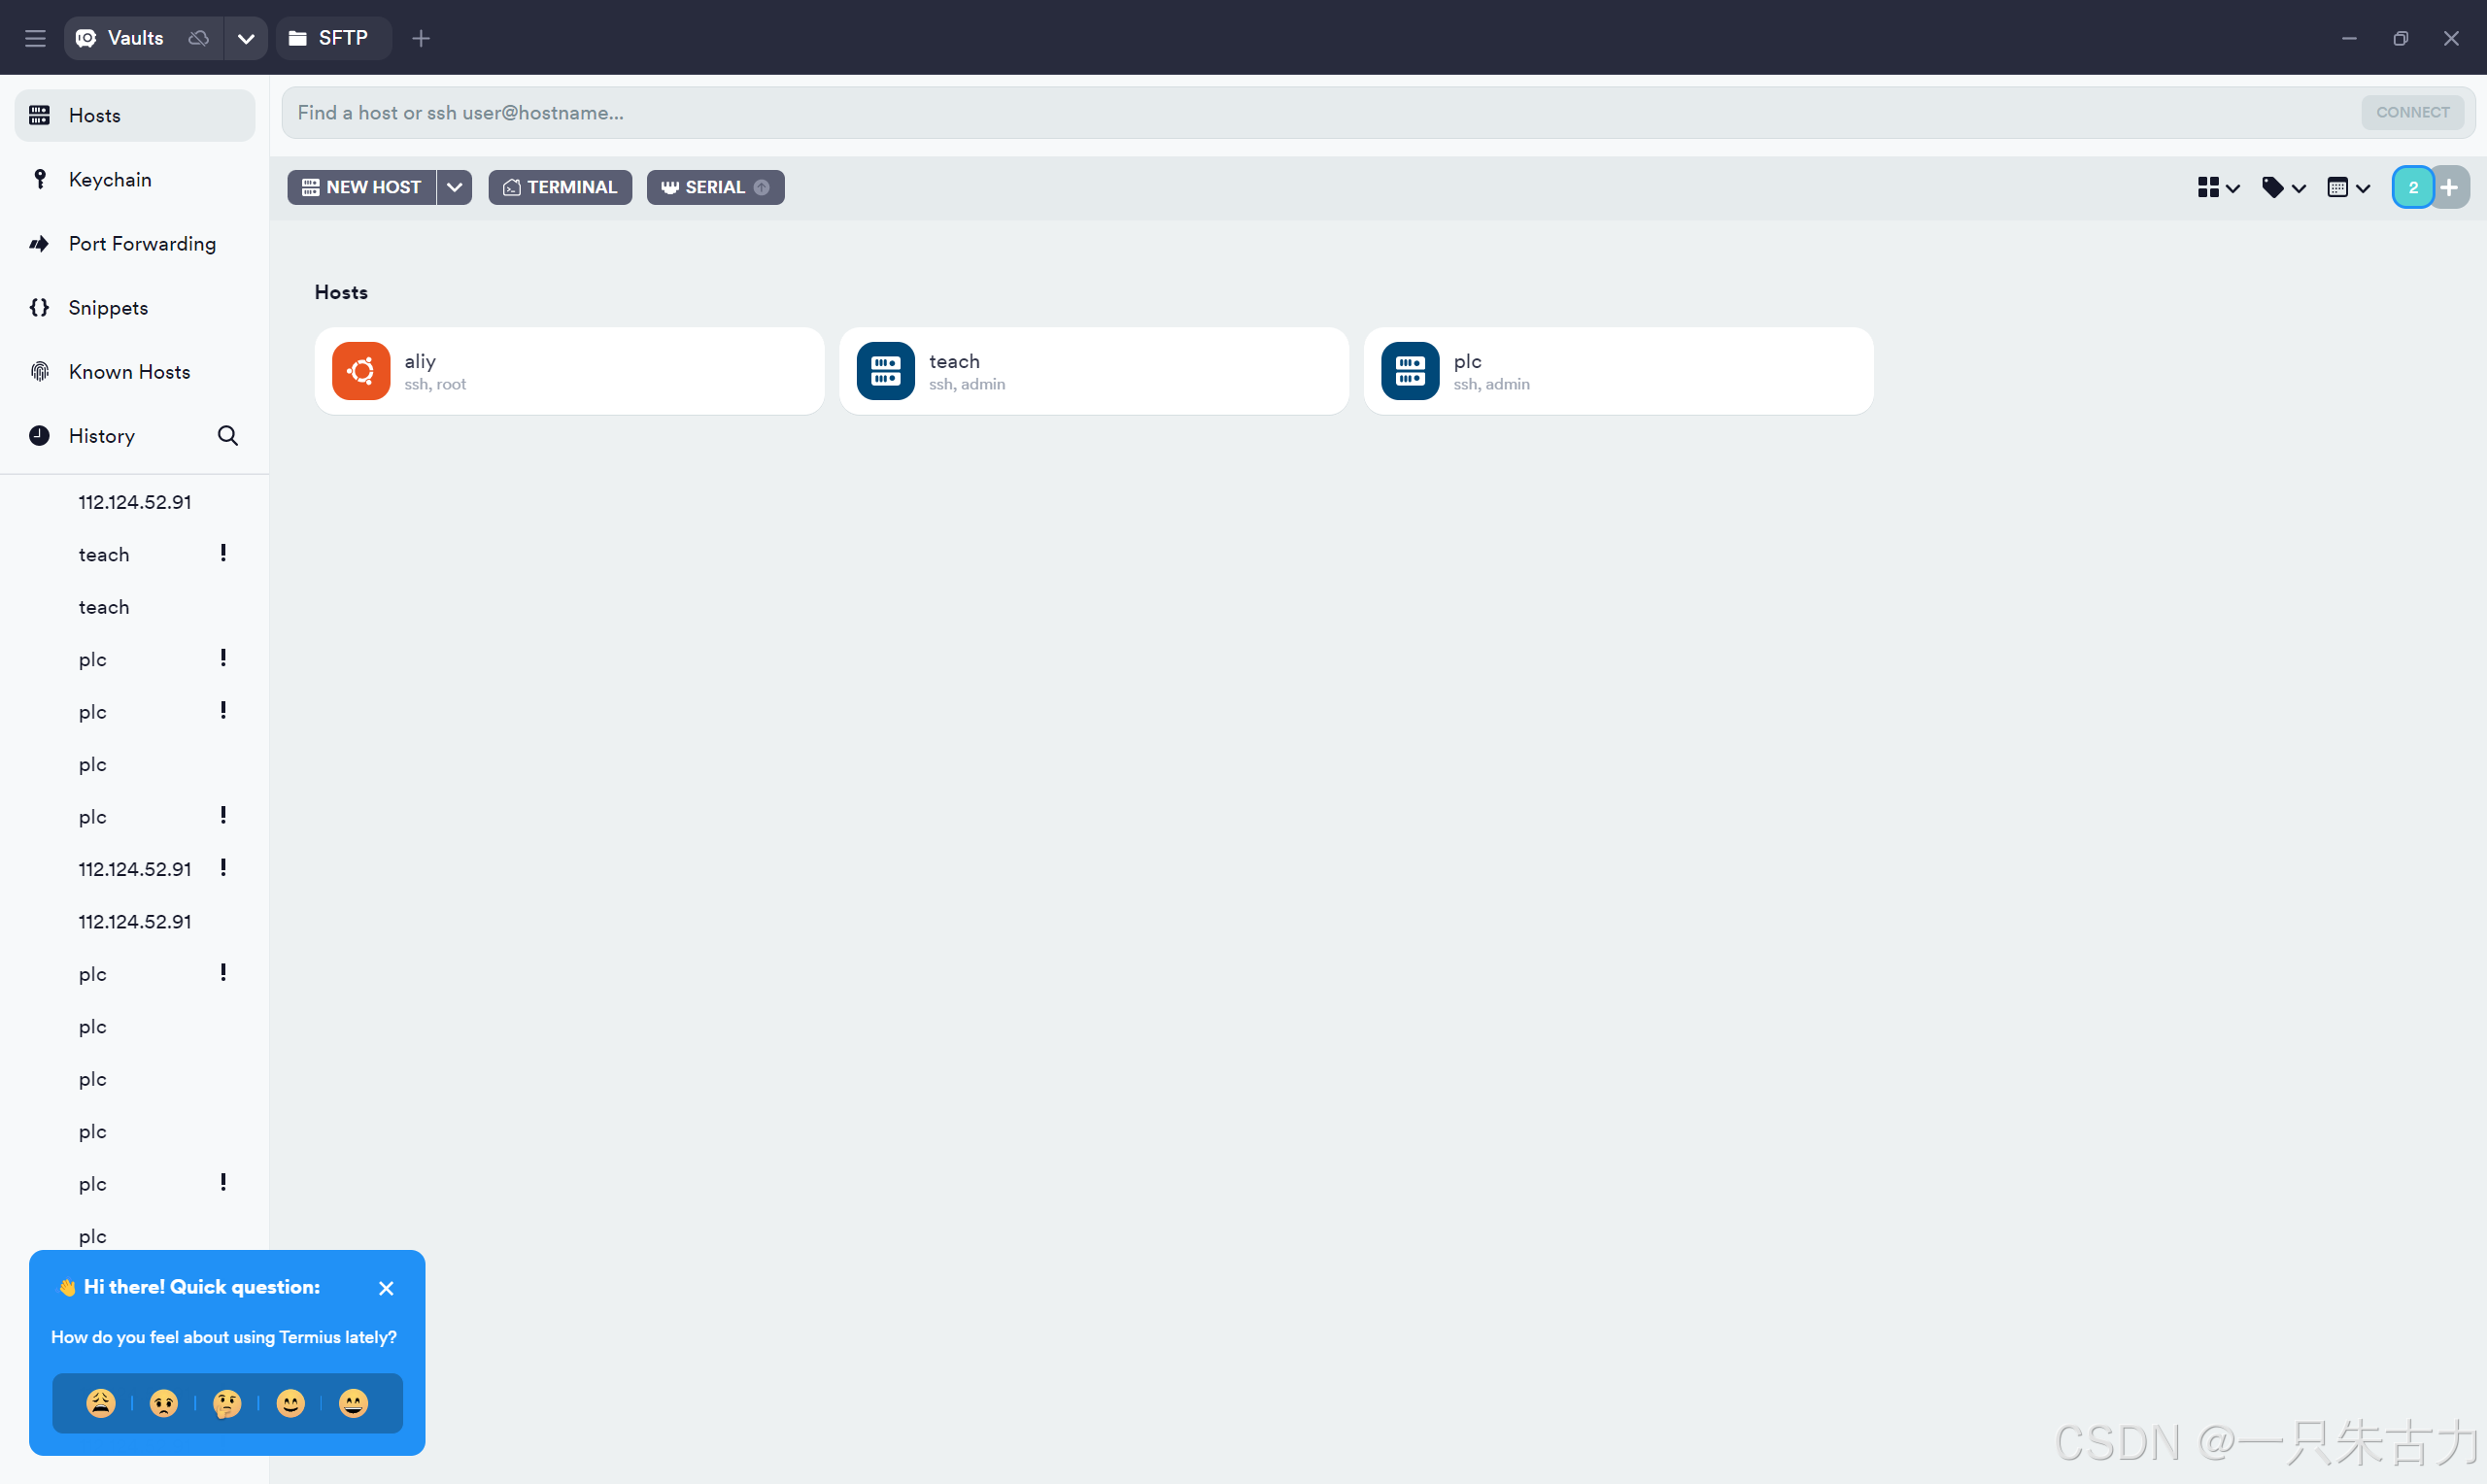
3.找一个软件(如Termius)连接服务器
2.部署需要的环境和软件
1.下载宝塔
宝塔面板 – 简单好用的Linux/Windows服务器运维管理面板
2.宝塔安装后网页地址
/etc/init.d/bt default
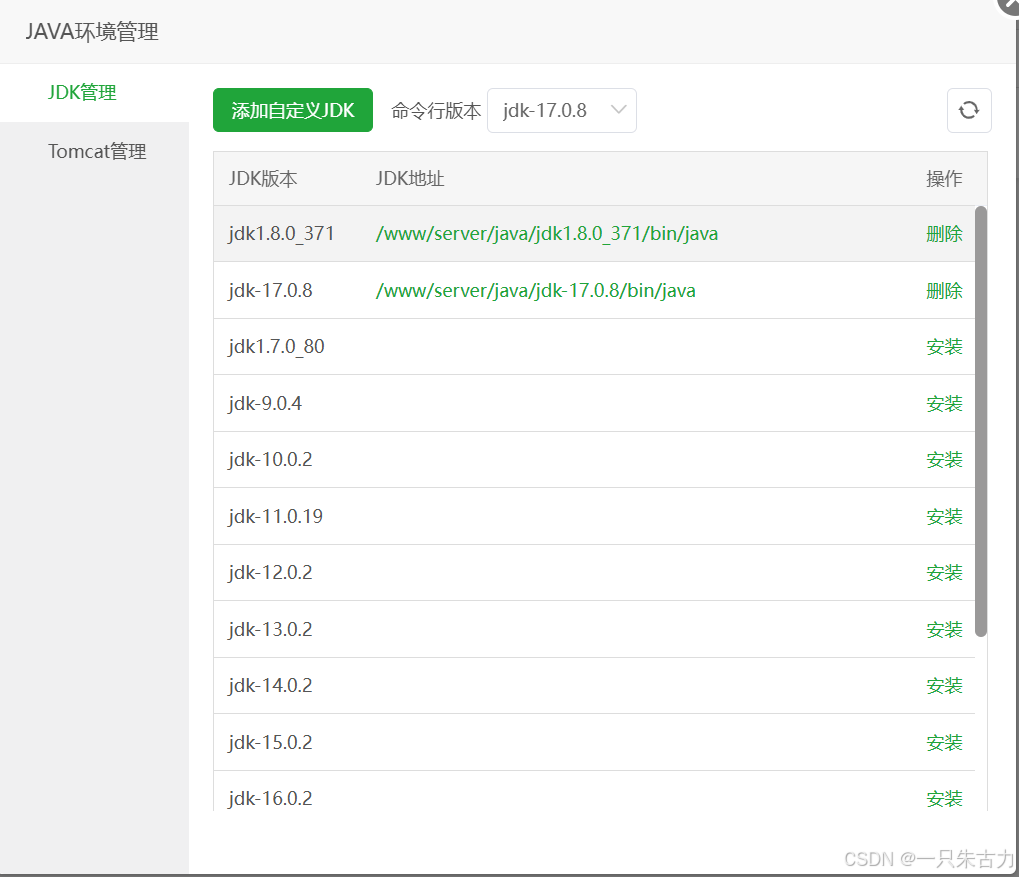
3.jdk 17
4. Nginx 1.24.0

配置环境
user www www;
worker_processes auto;
error_log /www/wwwlogs/nginx_error.log crit;
pid /www/server/nginx/logs/nginx.pid;
worker_rlimit_nofile 51200;
stream {
log_format tcp_format '$time_local|$remote_addr|$protocol|$status|$bytes_sent|$bytes_received|$session_time|$upstream_addr|$upstream_bytes_sent|$upstream_bytes_received|$upstream_connect_time';
access_log /www/wwwlogs/tcp-access.log tcp_format;
error_log /www/wwwlogs/tcp-error.log;
include /www/server/panel/vhost/nginx/tcp/*.conf;
}
events
{
use epoll;
worker_connections 51200;
multi_accept on;
}
http
{
include mime.types;
#include luawaf.conf;
include proxy.conf;
lua_package_path "/www/server/nginx/lib/lua/?.lua;;";
default_type application/octet-stream;
server_names_hash_bucket_size 512;
client_header_buffer_size 32k;
large_client_header_buffers 4 32k;
client_max_body_size 50m;
sendfile on;
tcp_nopush on;
keepalive_timeout 60;
tcp_nodelay on;
fastcgi_connect_timeout 300;
fastcgi_send_timeout 300;
fastcgi_read_timeout 300;
fastcgi_buffer_size 64k;
fastcgi_buffers 4 64k;
fastcgi_busy_buffers_size 128k;
fastcgi_temp_file_write_size 256k;
fastcgi_intercept_errors on;
gzip on;
gzip_min_length 1k;
gzip_buffers 4 16k;
gzip_http_version 1.1;
gzip_comp_level 2;
gzip_types text/plain application/javascript application/x-javascript text/javascript text/css application/xml application/json image/jpeg image/gif image/png font/ttf font/otf image/svg+xml application/xml+rss text/x-js;
gzip_vary on;
gzip_proxied expired no-cache no-store private auth;
gzip_disable "MSIE [1-6]\\.";
limit_conn_zone $binary_remote_addr zone=perip:10m;
limit_conn_zone $server_name zone=perserver:10m;
server_tokens off;
access_log off;
server
{
listen 888;
server_name phpmyadmin;
index index.html index.htm index.php;
root /www/server/phpmyadmin;
#error_page 404 /404.html;
include enable-php.conf;
location ~ .*\\.(gif|jpg|jpeg|png|bmp|swf)$
{
expires 30d;
}
location ~ .*\\.(js|css)?$
{
expires 12h;
}
location ~ /\\.
{
deny all;
}
access_log /www/wwwlogs/access.log;
}
include /www/server/panel/vhost/nginx/*.conf;
}
5.MySQL 5.7.43
step 1:登入mysql监视器,通过命令: mysql -uroot -p
step 2.:根据提示输入密码
step 3: 选择mysql数据库,通过命令:use mysql;
step 4: 通过命令:select host,user from user;

step 5:修改root用户的连接权限的主机范围为任一主机,执行命令:update user set host=‘%’ where user=‘root’;
step 6: 再查看root用户的连接权限:select host,user from user;
step 7:如果修改完权限后你还是远程连接不上mysql数据库,那就是需要重启一下mysql服务器,执行命令:
systemctl restart mysqld
注意在配置文件加上 bind-address = 0.0.0.0
[mysqld]
bind-address = 0.0.0.0
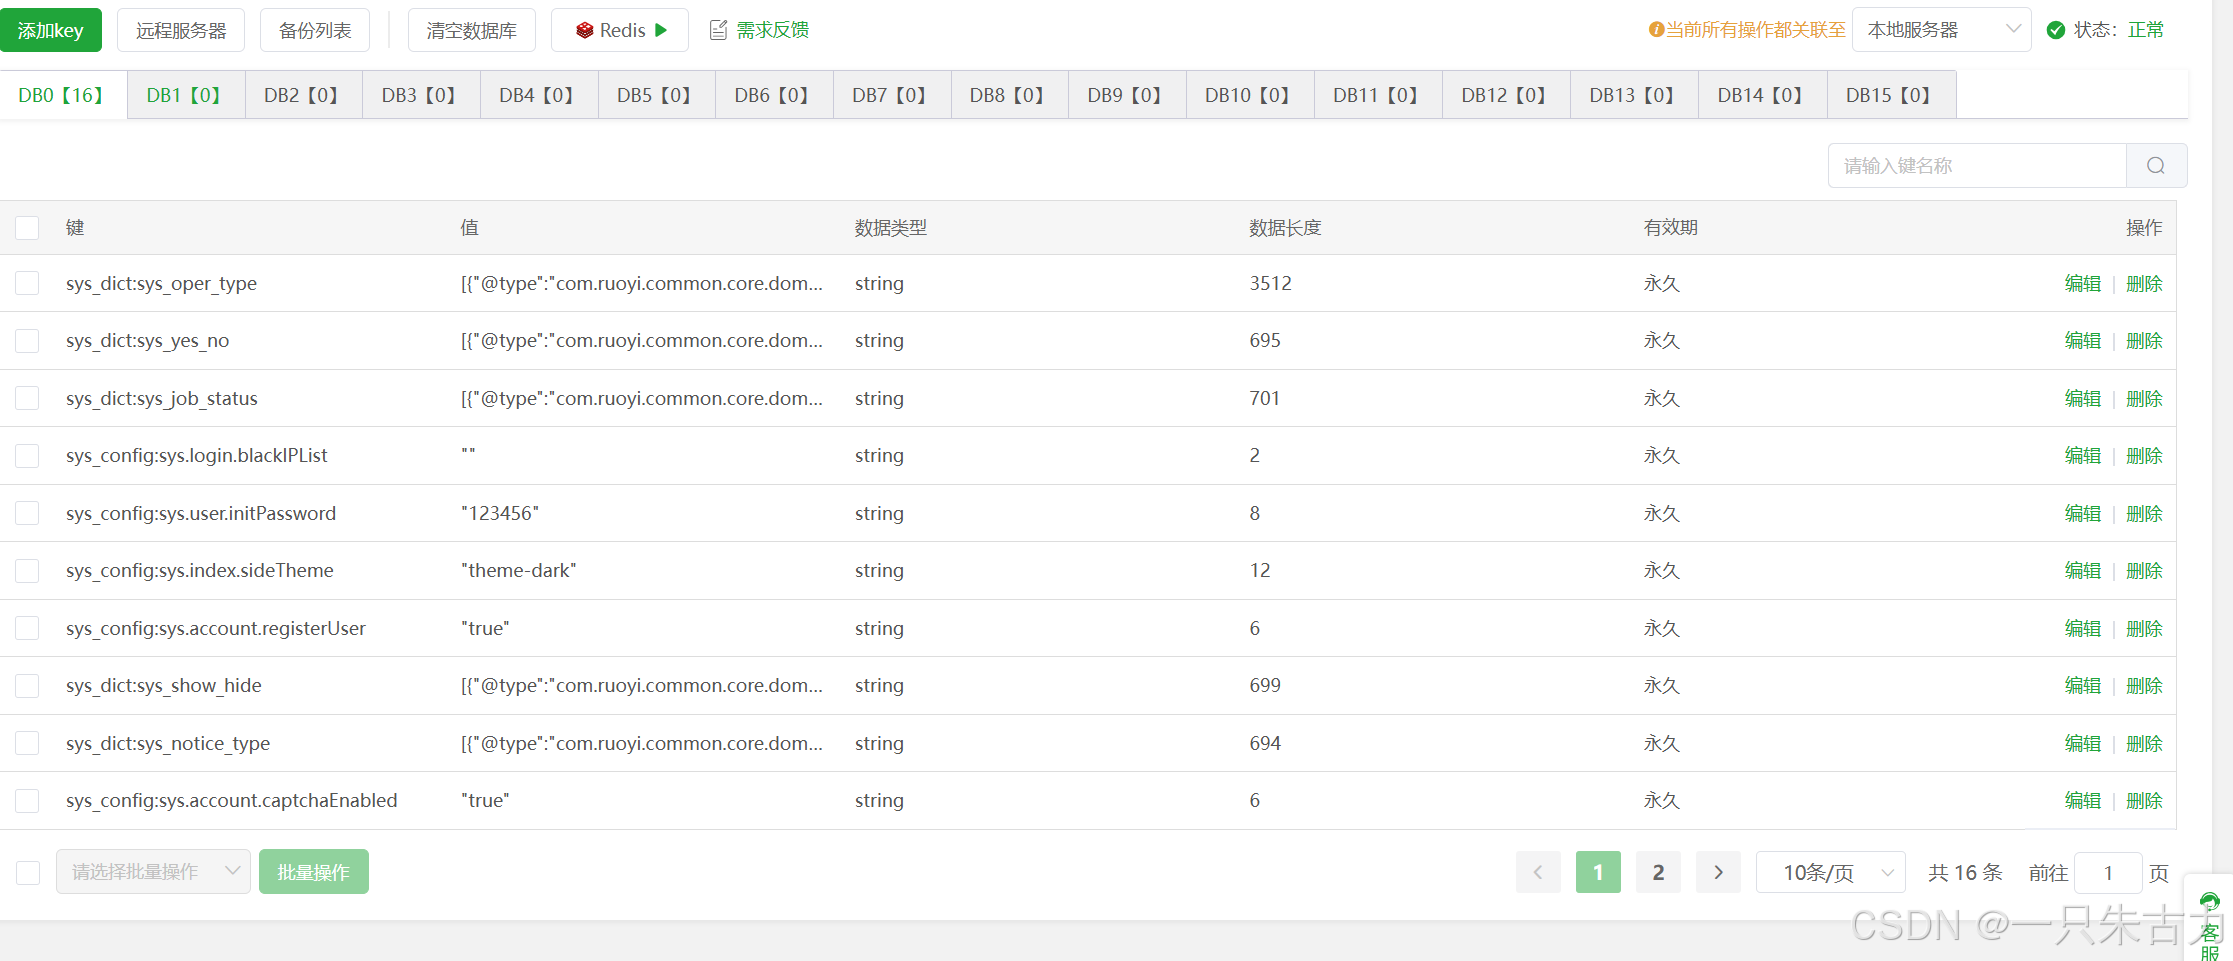
6.Redis 7.2.4
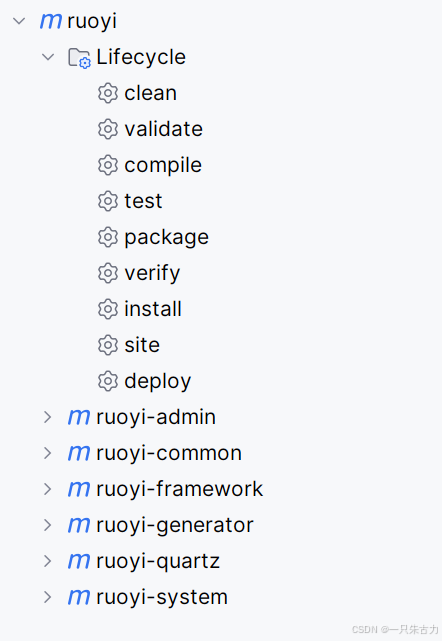
3.打包后端
1.clean -> package
2.取 ruoyi-admin.jar 上传到服务器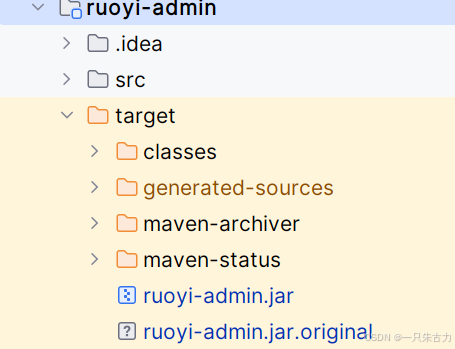
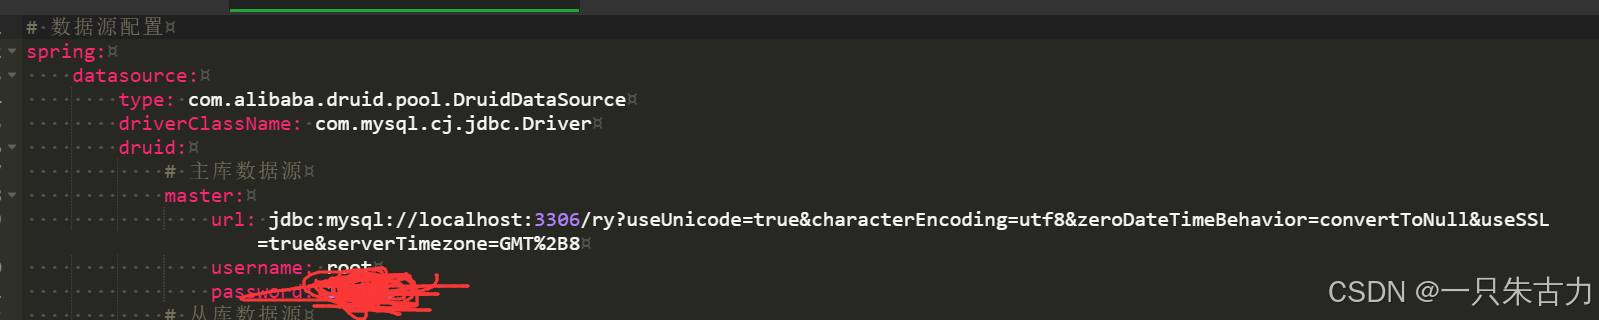
3.配置文件

修改application.yml profile路径

数据库密码
4. 从bt添加Java项目启动

4.前端打包
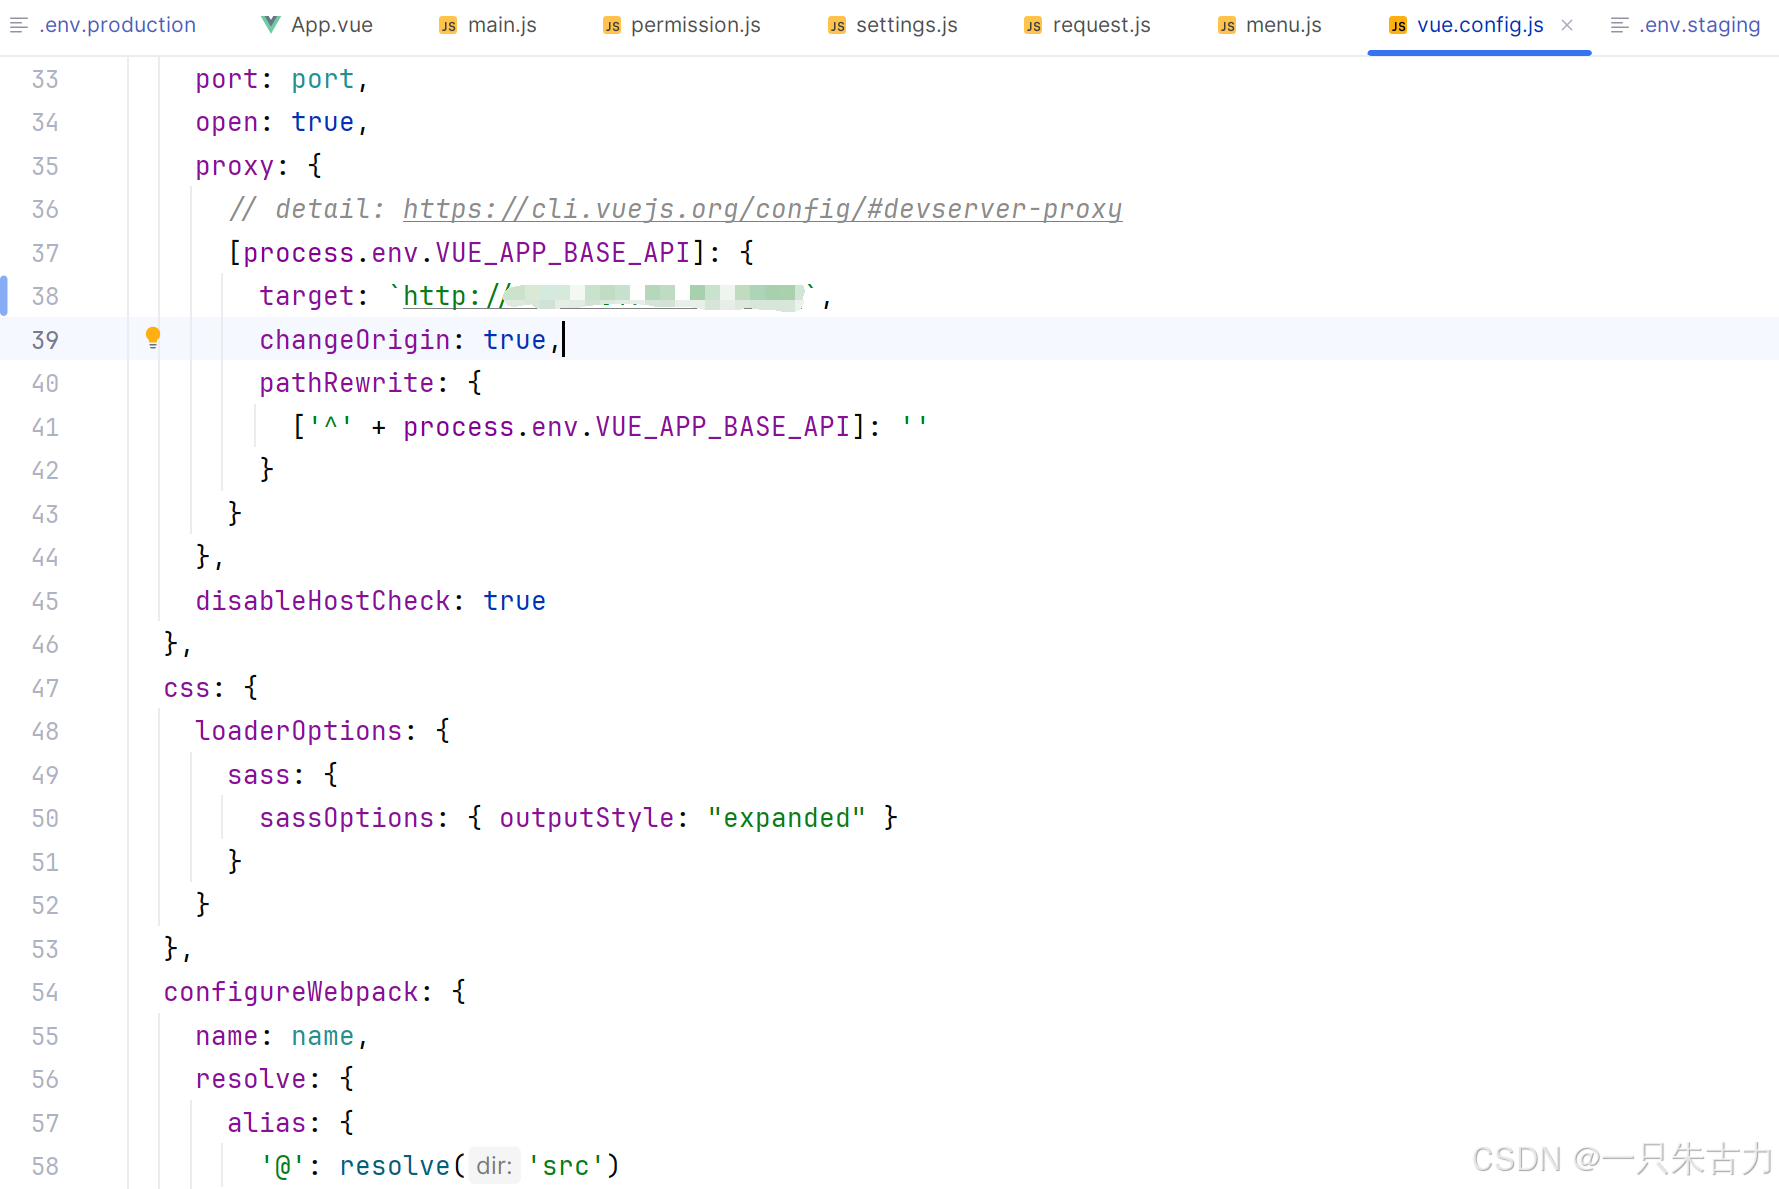
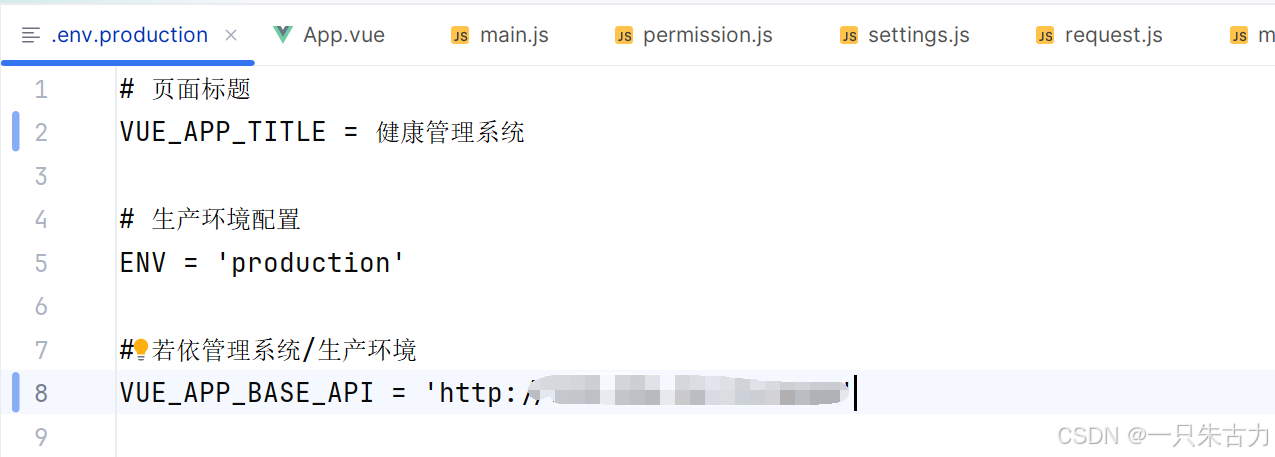
1.修改配置文件
vue.config.js里的 target
.env.production里的 VUE_APP_BASE_API
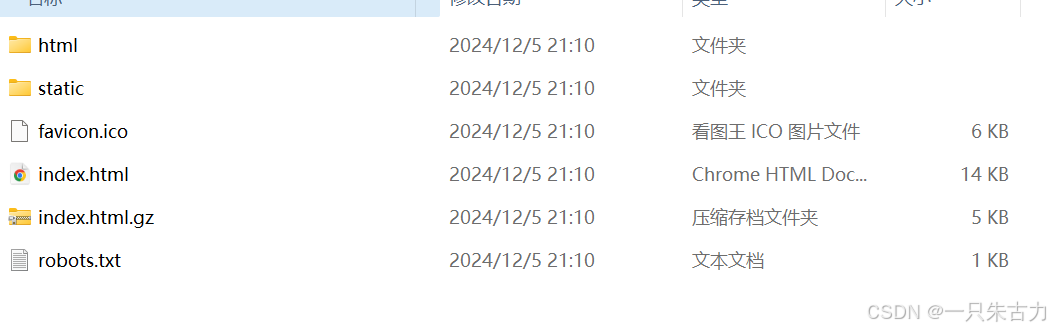
 2.打包
2.打包
运行 vue-cli-service build

得到 dist 文件夹
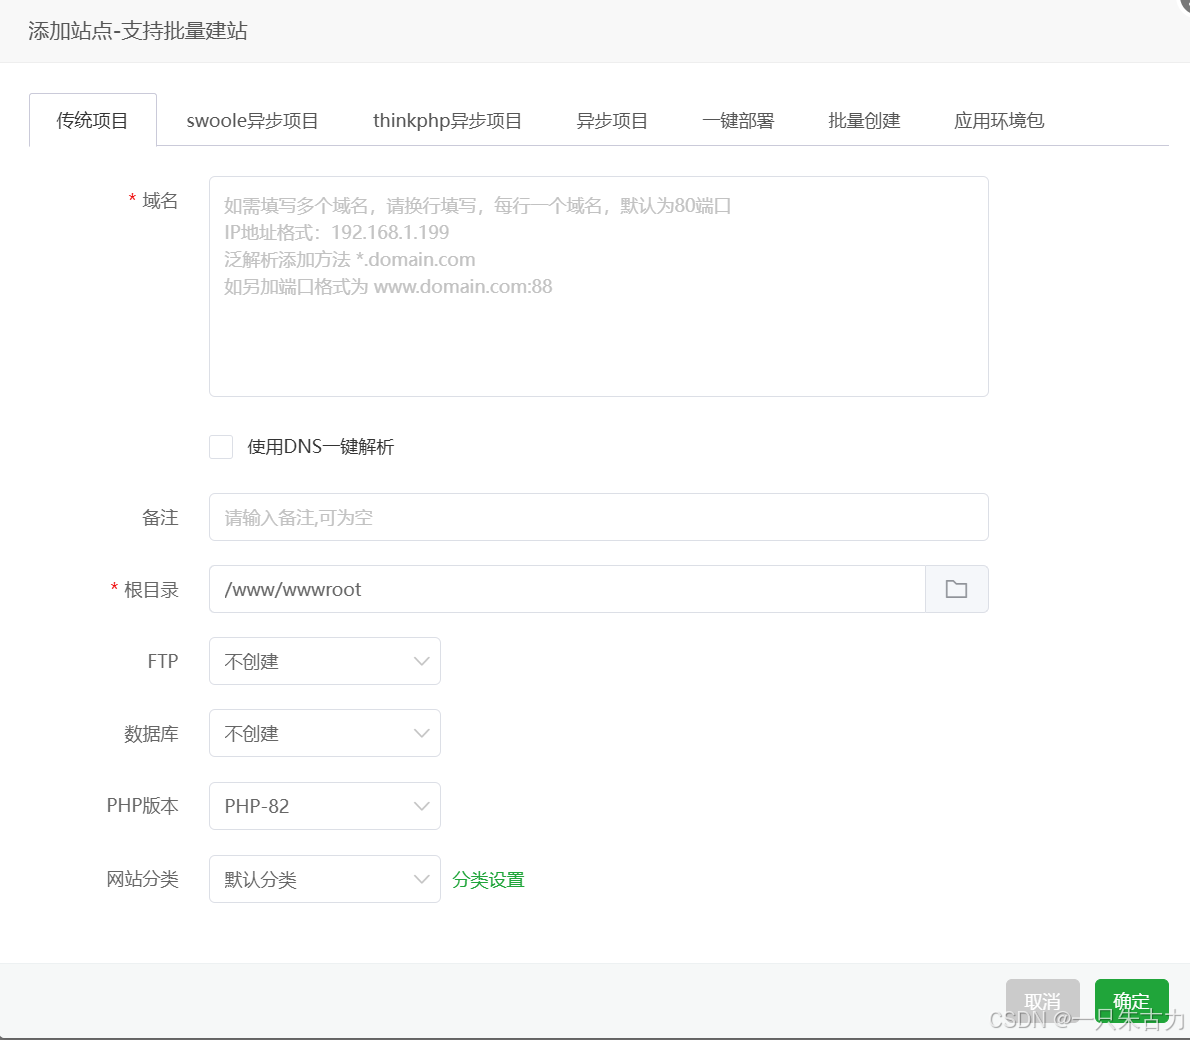
3.部署
添加PHP项目


评论前必须登录!
注册