 网硕互联帮助中心
本地服务器部署开源大模型有一个前提,就是得有 GPU 显卡资源,在我下面的例子中我租用了 autodl 中的算力资源,具体是租用了一张消费级别的 RTX 3090 显卡。

环境配置
- 操作系统及版本:ubuntu 22.04
- CUDA 版本: 12.1
- pytorch 版本:2.3.0+cu121
pip 换源和安装依赖包。
# 升级pip
python -m pip install –upgrade pip
# 更换 pypi 源加速库的安装
pip config set global.index-url https://pypi.tuna.tsinghua.edu.cn/simple
pip install fastapi==0.104.1
pip install uvicorn==0.24.0.post1
pip install requests==2.25.1
pip install modelscope==1.9.5
pip install transformers==4.42.4
pip install streamlit==1.24.0
pip install sentencepiece==0.1.99
pip install accelerate==0.24.1
pip install tiktoken==0.7.0
这里要注意 transformers 的版本是 4.42.4
模型下载
GLM-4-9B-Chat 模型大小为 18 GB,下载模型大概需要 10~20 分钟。
由于后面我们要使用一个开源的 embedding 模型 BAAI/bge-base-zh-v1.5
所以使用以下代码下载 2 个模型文件到本地文件系统:
运行 python download.py
import torch
from modelscope import snapshot_download, AutoModel, AutoTokenizer
import os
model_dir = snapshot_download('ZhipuAI/glm-4-9b-chat', cache_dir='/root/autodl-tmp', revision='master')
embedding_model_dir = snapshot_download('BAAI/bge-base-zh-v1.5', cache_dir='/root/autodl-tmp', revision='master')
模型测试
GLM 开源模型官方给了一个 Demo 方便我们做测试,以下是代码:
运行 python trans_cli_demo.py
"""
This script creates a CLI demo with transformers backend for the glm-4-9b model,
allowing users to interact with the model through a command-line interface.
Usage:
– Run the script to start the CLI demo.
– Interact with the model by typing questions and receiving responses.
Note: The script includes a modification to handle markdown to plain text conversion,
ensuring that the CLI interface displays formatted text correctly.
If you use flash attention, you should install the flash-attn and add attn_implementation="flash_attention_2" in model loading.
"""
import os
import torch
from threading import Thread
from transformers import AutoTokenizer, StoppingCriteria, StoppingCriteriaList, TextIteratorStreamer, AutoModelForCausalLM
MODEL_PATH = os.environ.get('MODEL_PATH', '/root/autodl-tmp/ZhipuAI/glm-4-9b-chat')
tokenizer = AutoTokenizer.from_pretrained(MODEL_PATH, trust_remote_code=True)
model = AutoModelForCausalLM.from_pretrained(
MODEL_PATH,
trust_remote_code=True,
device_map="auto"
).eval()
class StopOnTokens(StoppingCriteria):
def __call__(self, input_ids: torch.LongTensor, scores: torch.FloatTensor, **kwargs) -> bool:
stop_ids = model.config.eos_token_id
for stop_id in stop_ids:
if input_ids[0][-1] == stop_id:
return True
return False
if __name__ == "__main__":
history = []
max_length = 8192
top_p = 0.8
temperature = 0.6
stop = StopOnTokens()
print("Welcome to the GLM-4-9B CLI chat. Type your messages below.")
while True:
user_input = input("\\nYou: ")
if user_input.lower() in ["exit", "quit"]:
break
history.append([user_input, ""])
messages = []
for idx, (user_msg, model_msg) in enumerate(history):
if idx == len(history) – 1 and not model_msg:
messages.append({"role": "user", "content": user_msg})
break
if user_msg:
messages.append({"role": "user", "content": user_msg})
if model_msg:
messages.append({"role": "assistant", "content": model_msg})
model_inputs = tokenizer.apply_chat_template(
messages,
add_generation_prompt=True,
tokenize=True,
return_tensors="pt"
).to(model.device)
streamer = TextIteratorStreamer(
tokenizer=tokenizer,
timeout=60,
skip_prompt=True,
skip_special_tokens=True
)
generate_kwargs = {
"input_ids": model_inputs,
"streamer": streamer,
"max_new_tokens": max_length,
"do_sample": False, # 改为 False
"top_p": top_p,
"temperature": temperature,
"stopping_criteria": StoppingCriteriaList([stop]),
"repetition_penalty": 1.2,
"eos_token_id": model.config.eos_token_id,
}
try:
t = Thread(target=model.generate, kwargs=generate_kwargs)
t.start()
print("GLM-4:", end="", flush=True)
for new_token in streamer:
if new_token:
print(new_token, end="", flush=True)
history[-1][1] += new_token
except Exception as e:
print(f"An error occurred: {e}")
print(f"Error type: {type(e)}")
import traceback
traceback.print_exc()
history[-1][1] = history[-1][1].strip()
注意以上代码和 GLM 官方提供的可能不太一样,因为官方的有的报错,所以我略为修改了一下。
直接运行 trans_cli_demo.py 就可以和模型交互了

利用 FastApi 调用模型
运行以下代码创建并启动 Api 服务:
运行 python api.py
from fastapi import FastAPI, Request
from transformers import AutoTokenizer, AutoModelForCausalLM
import uvicorn
import json
import datetime
import torch
# 设置设备参数
DEVICE = "cuda" # 使用CUDA
DEVICE_ID = "0" # CUDA设备ID,如果未设置则为空
CUDA_DEVICE = f"{DEVICE}:{DEVICE_ID}" if DEVICE_ID else DEVICE # 组合CUDA设备信息
# 清理GPU内存函数
def torch_gc():
if torch.cuda.is_available(): # 检查是否可用CUDA
with torch.cuda.device(CUDA_DEVICE): # 指定CUDA设备
torch.cuda.empty_cache() # 清空CUDA缓存
torch.cuda.ipc_collect() # 收集CUDA内存碎片
# 创建FastAPI应用
app = FastAPI()
# 处理POST请求的端点
@app.post("/")
async def create_item(request: Request):
global model, tokenizer # 声明全局变量以便在函数内部使用模型和分词器
json_post_raw = await request.json() # 获取POST请求的JSON数据
json_post = json.dumps(json_post_raw) # 将JSON数据转换为字符串
json_post_list = json.loads(json_post) # 将字符串转换为Python对象
prompt = json_post_list.get('prompt') # 获取请求中的提示
history = json_post_list.get('history') # 获取请求中的历史记录
max_length = json_post_list.get('max_length', 2048) # 获取请求中的最大长度
top_p = json_post_list.get('top_p', 0.7) # 获取请求中的top_p参数
temperature = json_post_list.get('temperature', 0.95) # 获取请求中的温度参数
# 准备输入
messages = []
if history:
for h in history:
messages.append({"role": "user", "content": h[0]})
messages.append({"role": "assistant", "content": h[1]})
messages.append({"role": "user", "content": prompt})
input_ids = tokenizer.apply_chat_template(messages, return_tensors="pt").to(model.device)
# 生成回复
with torch.no_grad():
outputs = model.generate(
input_ids,
max_new_tokens=max_length,
do_sample=True,
top_p=top_p,
temperature=temperature,
)
response = tokenizer.decode(outputs[0][input_ids.shape[1]:], skip_special_tokens=True)
now = datetime.datetime.now() # 获取当前时间
time = now.strftime("%Y-%m-%d %H:%M:%S") # 格式化时间为字符串
# 构建响应JSON
answer = {
"response": response,
"history": history + [[prompt, response]],
"status": 200,
"time": time
}
# 构建日志信息
log = "[" + time + "] " + '", prompt:"' + prompt + '", response:"' + repr(response) + '"'
print(log) # 打印日志
torch_gc() # 执行GPU内存清理
return answer # 返回响应
# 主函数入口
if __name__ == '__main__':
# 加载预训练的分词器和模型
tokenizer = AutoTokenizer.from_pretrained("/root/autodl-tmp/ZhipuAI/glm-4-9b-chat", trust_remote_code=True)
model = AutoModelForCausalLM.from_pretrained(
"/root/autodl-tmp/ZhipuAI/glm-4-9b-chat",
torch_dtype=torch.bfloat16,
trust_remote_code=True,
device_map="auto",
)
model.eval() # 设置模型为评估模式
# 启动FastAPI应用
# 用6006端口可以将autodl的端口映射到本地,从而在本地使用api
uvicorn.run(app, host='0.0.0.0', port=6006, workers=1) # 在指定端口和主机上启动应用
测试服务
curl -X POST "http://127.0.0.1:6006" \\
-H 'Content-Type: application/json' \\
-d '{"prompt": "你好", "history": []}'
利用 FastApi 同样可以测试模型的调用和交互。

注意,以上代码你可能会在网络上找到类似的,我在最开始使用那些代码的时候报各种错,原因大概包括模型和代码版本不兼容,组件库版本问题等。所以以上代码是经过我的修改之后可运行的代码
RAG
在之前的文章中我们通过 Ollama 在笔记本电脑上部署过大模型,通过大模型产品的 API 调用过大模型 ,唯独没有在服务器上私有化部署一个大模型。
前文我们已经在服务器上部署好了大模型 glm-4-9b-chat 这是一个拥有 90 亿参数的模型。下面我们介绍如何在 llamaindex 中调用它。
很简单,首先我们还是先自定义一个LLM ,参考以下代码:
import logging
from typing import Any, List, Optional
from llama_index.core.llms import (
CustomLLM,
CompletionResponse,
CompletionResponseGen,
LLMMetadata,
)
from llama_index.core.llms.callbacks import llm_completion_callback
from transformers import AutoTokenizer, AutoModelForCausalLM
import torch
# 设置日志
logging.basicConfig(level=logging.DEBUG)
logger = logging.getLogger(__name__)
class LocalGLM4(CustomLLM):
context_window: int = 8192 # 默认上下文窗口大小
num_output: int = 2048 # 默认输出的token数量
model_name: str = "glm-4-9b-chat" # 模型名称
tokenizer: object = None # 分词器
model: object = None # 模型
def __init__(self, pretrained_model_name_or_path: str):
super().__init__()
# GPU方式加载模型
self.tokenizer = AutoTokenizer.from_pretrained(
pretrained_model_name_or_path, trust_remote_code=True
)
self.model = AutoModelForCausalLM.from_pretrained(
pretrained_model_name_or_path,
torch_dtype=torch.float16, # 或者使用 torch.bfloat16
low_cpu_mem_usage=True,
trust_remote_code=True,
device_map="auto",
)
# CPU方式加载模型
# self.tokenizer = AutoTokenizer.from_pretrained(pretrained_model_name_or_path, device_map="cpu", trust_remote_code=True)
# self.model = AutoModelForCausalLM.from_pretrained(pretrained_model_name_or_path, device_map="cpu", trust_remote_code=True)
# self.model = self.model.float()
# 尝试获取模型的实际上下文窗口大小
if hasattr(self.model.config, 'seq_length'):
self.context_window = self.model.config.seq_length
elif hasattr(self.model.config, 'max_position_embeddings'):
self.context_window = self.model.config.max_position_embeddings
logger.info(f"Using context window size: {self.context_window}")
@property
def metadata(self) -> LLMMetadata:
"""Get LLM metadata."""
# 得到LLM的元数据
return LLMMetadata(
context_window=self.context_window,
num_output=self.num_output,
model_name=self.model_name,
)
@llm_completion_callback()
def complete(self, prompt: str, **kwargs: Any) -> CompletionResponse:
# 完成函数
print("完成函数")
inputs = self.tokenizer.encode(prompt, return_tensors="pt").cuda() # GPU方式
# inputs = self.tokenizer.encode(prompt, return_tensors='pt') # CPU方式
outputs = self.model.generate(inputs, max_length=self.num_output)
response = self.tokenizer.decode(outputs[0])
return CompletionResponse(text=response)
@llm_completion_callback()
def stream_complete(self, prompt: str, **kwargs: Any) -> CompletionResponseGen:
# 流式完成函数
print("流式完成函数")
inputs = self.tokenizer.encode(prompt, return_tensors="pt").cuda() # GPU方式
# inputs = self.tokenizer.encode(prompt, return_tensors='pt') # CPU方式
outputs = self.model.generate(inputs, max_length=self.num_output)
response = self.tokenizer.decode(outputs[0])
for token in response:
yield CompletionResponse(text=token, delta=token)
剩下的步骤跟之前的调用方式、代码编程模型几乎没有任何区别:
embed_model_path = "/root/autodl-tmp/BAAI/bge-base-zh-v1.5"
pretrained_model_name_or_path = r"/root/autodl-tmp/ZhipuAI/glm-4-9b-chat"
# 设置LLM和嵌入模型
logger.info("Setting up LLM and embedding model")
Settings.llm = LocalGLM4(pretrained_model_name_or_path)
Settings.embed_model = HuggingFaceEmbedding(
model_name=f"{embed_model_path}", device="cuda"
)
# 从指定目录加载文档数据
logger.info("Loading documents")
documents = SimpleDirectoryReader(input_files=["./data/sample.txt"]).load_data()
# 创建索引和查询引擎
logger.info("Creating index and query engine")
index = VectorStoreIndex.from_documents(documents)
query_engine = index.as_query_engine(streaming=False)
# 执行查询
logger.info("Executing query")
response = query_engine.query(query)
# 处理并输出响应
if hasattr(response, "response_gen"):
# 流式输出
for text in response.response_gen:
print(text, end="", flush=True)
sys.stdout.flush() # 确保立即输出
else:
# 非流式输出
print(response.response, end="", flush=True)
相关代码可以在这里查看:github.com/xiaobox/lla…
总结
利用租用的 GPU 资源部署了开源大模型 glm-4-9b-chat ,通过熟悉部署方式和流程,你可以照猫画虎部署其他开源模型。接着我们将之前 RAG 项目中对LLM的调用改为服务器部署的本地开源模型,实现了模型和调用的私有化。希望这篇文章能够帮助到有类似需求的朋友。
如何系统的去学习大模型LLM ?
大模型时代,火爆出圈的LLM大模型让程序员们开始重新评估自己的本领。 “AI会取代那些行业?”“谁的饭碗又将不保了?”等问题热议不断。
事实上,抢你饭碗的不是AI,而是会利用AI的人。
继科大讯飞、阿里、华为等巨头公司发布AI产品后,很多中小企业也陆续进场!超高年薪,挖掘AI大模型人才! 如今大厂老板们,也更倾向于会AI的人,普通程序员,还有应对的机会吗?
与其焦虑……
不如成为「掌握AI工具的技术人」,毕竟AI时代,谁先尝试,谁就能占得先机!
但是LLM相关的内容很多,现在网上的老课程老教材关于LLM又太少。所以现在小白入门就只能靠自学,学习成本和门槛很高。
针对所有自学遇到困难的同学们,我帮大家系统梳理大模型学习脉络,将这份 LLM大模型资料 分享出来:包括LLM大模型书籍、640套大模型行业报告、LLM大模型学习视频、LLM大模型学习路线、开源大模型学习教程等, 😝有需要的小伙伴,可以 扫描下方二维码领取🆓↓↓↓
👉CSDN大礼包🎁:全网最全《LLM大模型入门+进阶学习资源包》免费分享(安全链接,放心点击)👈

一、LLM大模型经典书籍
AI大模型已经成为了当今科技领域的一大热点,那以下这些大模型书籍就是非常不错的学习资源。

二、640套LLM大模型报告合集
这套包含640份报告的合集,涵盖了大模型的理论研究、技术实现、行业应用等多个方面。无论您是科研人员、工程师,还是对AI大模型感兴趣的爱好者,这套报告合集都将为您提供宝贵的信息和启示。(几乎涵盖所有行业)

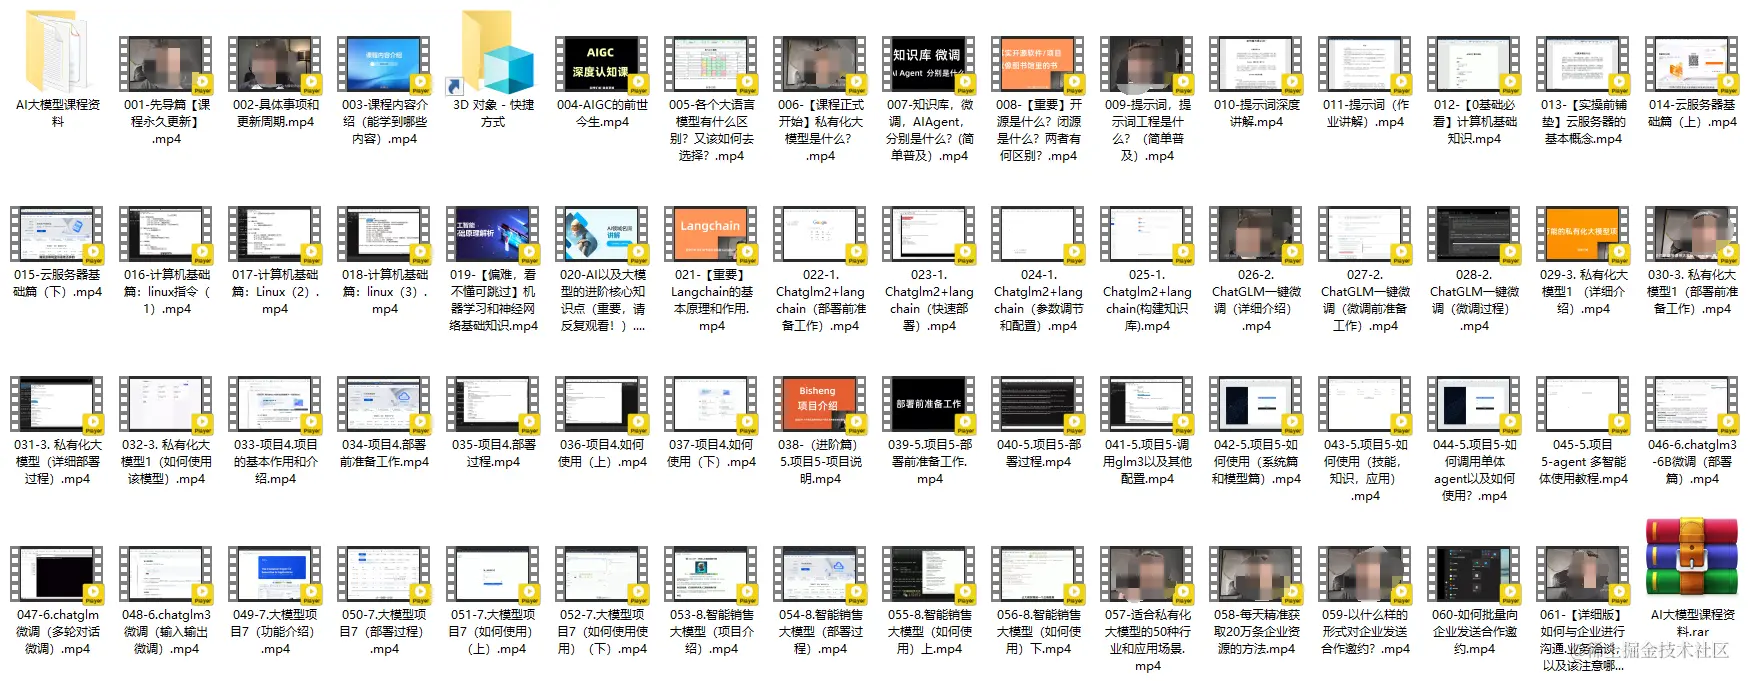
三、LLM大模型系列视频教程
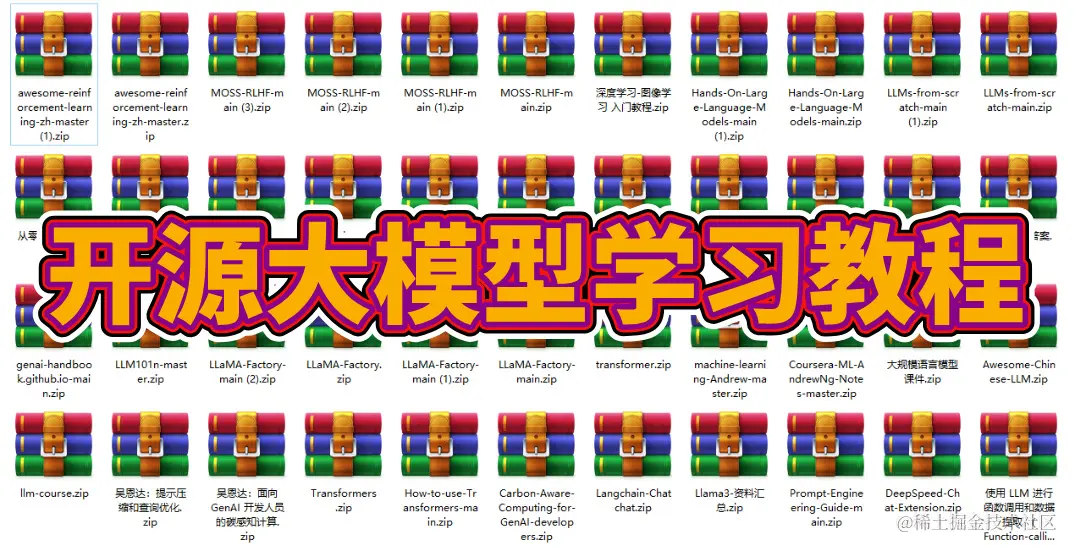
四、LLM大模型开源教程(LLaLA/Meta/chatglm/chatgpt)
LLM大模型学习路线 ↓
阶段1:AI大模型时代的基础理解
-
目标:了解AI大模型的基本概念、发展历程和核心原理。
-
内容:
- L1.1 人工智能简述与大模型起源
- L1.2 大模型与通用人工智能
- L1.3 GPT模型的发展历程
- L1.4 模型工程
- L1.4.1 知识大模型
- L1.4.2 生产大模型
- L1.4.3 模型工程方法论
- L1.4.4 模型工程实践
- L1.5 GPT应用案例
阶段2:AI大模型API应用开发工程
-
目标:掌握AI大模型API的使用和开发,以及相关的编程技能。
-
内容:
- L2.1 API接口
- L2.1.1 OpenAI API接口
- L2.1.2 Python接口接入
- L2.1.3 BOT工具类框架
- L2.1.4 代码示例
- L2.2 Prompt框架
- L2.3 流水线工程
- L2.4 总结与展望
阶段3:AI大模型应用架构实践
-
目标:深入理解AI大模型的应用架构,并能够进行私有化部署。
-
内容:
- L3.1 Agent模型框架
- L3.2 MetaGPT
- L3.3 ChatGLM
- L3.4 LLAMA
- L3.5 其他大模型介绍
阶段4:AI大模型私有化部署
-
目标:掌握多种AI大模型的私有化部署,包括多模态和特定领域模型。
-
内容:
- L4.1 模型私有化部署概述
- L4.2 模型私有化部署的关键技术
- L4.3 模型私有化部署的实施步骤
- L4.4 模型私有化部署的应用场景
这份 LLM大模型资料 包括LLM大模型书籍、640套大模型行业报告、LLM大模型学习视频、LLM大模型学习路线、开源大模型学习教程等, 😝有需要的小伙伴,可以 扫描下方二维码领取🆓↓↓↓
👉CSDN大礼包🎁:全网最全《LLM大模型入门+进阶学习资源包》免费分享(安全链接,放心点击)👈


评论前必须登录!
注册