 网硕互联帮助中心
一、环境准备
1.准备2-3台虚拟机,一台为服务端(安装yum源),其余的为客户端(测试yum源安装结果),最好是同网段的。
| IP地址 | 角色 | 备注 |
| 192.168.116.5 | 服务端 | 将完整镜像上传到这台机器 |
| 192.168.116.15 | 客户端 | |
| 192.168.116.25 | 客户端 |
2.准备镜像文件,这里以CentOS-7-x86_64-2009,当然最好是使用CentOS-7-x86_64-Everything-2207-02.iso(这是完整版,包含了所有软件组件,当然体积也庞大,高达9.58G。对完整版安装盘的软件进行补充,集成所有软件;不要使用mini版)
3.准备远程软件,secucrt或者FinalShell、xshell都可
4.关闭防火墙,每一台都要关闭,包括selinux。
[root@test1 yum.repos.d]# systemctl stop firewalld [root@test1 yum.repos.d]# systemctl disabled firewalld //设置防火墙开机不自启 root@test1 yum.repos.d]# setenforce 0 //将selinux临时状态调整为开启 [root@test1 yum.repos.d]# getenforce //查看selinux状态 Permissive
最好是进入配置文件将状态改为disabled
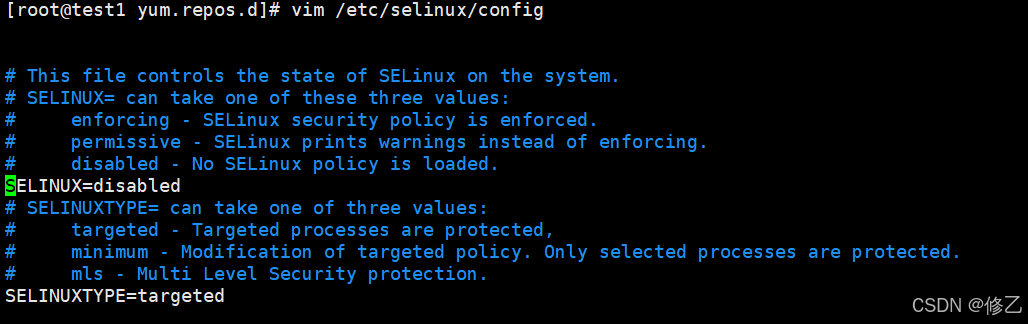
[root@test1 yum.repos.d]# vim /etc/selinux/config //进入selinux的配置文件
# This file controls the state of SELinux on the system. # SELINUX= can take one of these three values: # enforcing – SELinux security policy is enforced. # permissive – SELinux prints warnings instead of enforcing. # disabled – No SELinux policy is loaded. SELINUX=disabled //此时状态由原本的enforcing改为了disabled # SELINUXTYPE= can take one of three values: # targeted – Targeted processes are protected, # minimum – Modification of targeted policy. Only selected processes are protected. # mls – Multi Level Security protection. SELINUXTYPE=targeted
//注,配置本地yum源要将网关改掉,使其不能联网
二、开始配置yum源
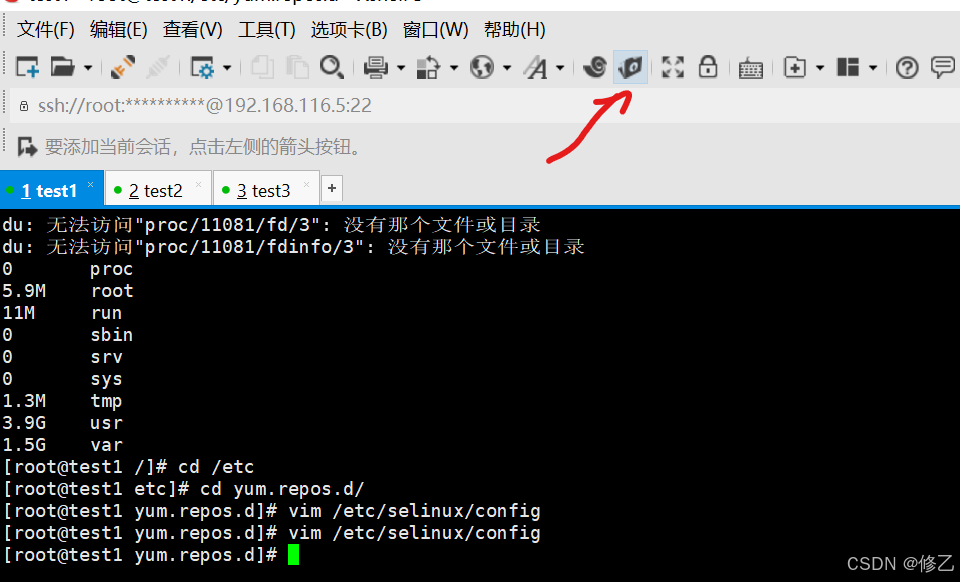
1.用xshell连上机器后,将镜像文件上传,首先点击图中所指标识
2.点击之后进入如下界面,此时找到你要上传的镜像
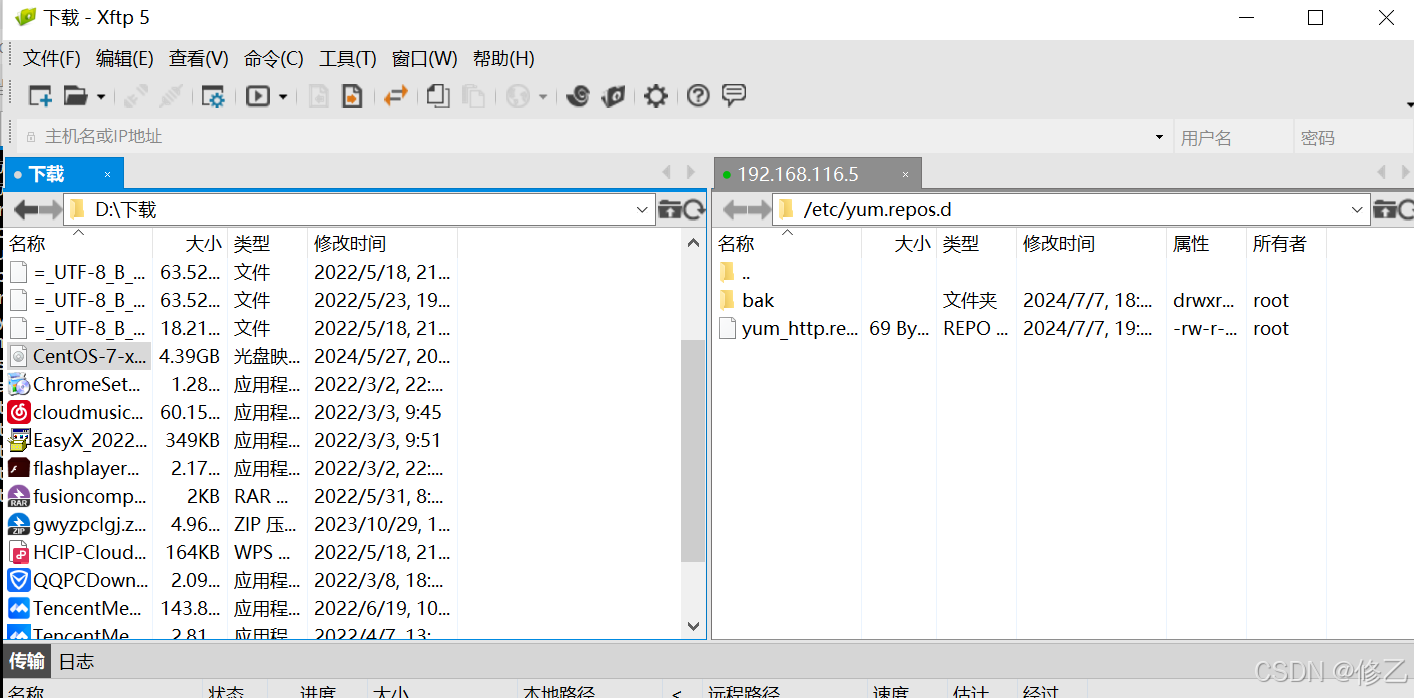
3.找到镜像之后,右击鼠标,然后点击传输

4.备份yum源
[root@test1 ~]# cd /etc/yum.repos.d /etc/yum.repos.d //yum的配置文件所在
[root@test1 yum.repos.d]# mkdir bak [root@test1 yum.repos.d]# ls bak CentOS-Media.repo CentOS-Base.repo CentOS-Sources.repo CentOS-CR.repo CentOS-Vault.repo CentOS-Debuginfo.repo CentOS-x86_64-kernel.repo CentOS-fasttrack.repo [root@test1 yum.repos.d]# mv *.repo bak/ [root@test1 yum.repos.d]# ls bak
//注每台机器都要进行这一步操作
5.创建yum_http.repo文件
[root@test1 yum.repos.d]# mkdir yum_http.repo [root@test1 yum.repos.d]# vim yum_http.repo
将一下内容写入
[centos] name=centos baseurl=file:///opt/centos gpgcheck=0 enabled=1
[root@test1 yum.repos.d]# ls /opt/centos ls: 无法访问/opt/centos: 没有那个文件或目录 [root@test1 yum.repos.d]# mkdir /opt/centos [root@test1 yum.repos.d]# cd /opt/centos [root@test1 centos]# ls [root@test1 centos]# ls CentOS-7-x86_64-DVD-2009.iso [root@test1 centos]# mount /opt/centos/CentOS-7-x86_64-DVD-2009.iso /opt/centos //挂载镜像文件,简单挂载mount: /dev/loop0 写保护,将以只读方式挂载
6.安装httpd服务
[root@test1 yum.repos.d]# yum -y install httpd
7.配置httpd服务
[root@test1 ~]# cd /var/www/html/ //进入到httpd的默认目录 [root@test1 html]# ll 总用量 0 [root@test1 html]# mkdir centos //创建一个centos目录 [root@test1 html]# ll 总用量 0 drwxr-xr-x. 2 root root 6 4月 23 10:37 centos
8.将将/opt/centos下挂载的文件软连接到http默认访问目录下,当然也可以使用cp命令,不过镜像文件较大,使用软连接更快
[root@test1 html]# ln -s /opt/centos/ /var/www/html/centos
[root@test1 html]# ll 总用量 4 lrwxrwxrwx 1 root root 12 7月 8 16:06 centos -> /opt/centos/ -rw-r–r– 1 root root 1592 7月 8 15:50 index.html drwxr-xr-x 2 root root 26 7月 8 16:01 test
9.启动httpd服务
[root@test1 yum.repos.d]# systemctl start httpd
10.修改http.repo(这里以自己创建的名字为准)文件中的baseurl为服务端ip
[root@test3 yum.repos.d]# vim http.repo [centos] name=centos baseurl=http://192.168.168.5:8080/centos //此处IP为服务端IP地址,如果修改了端口记得加上 gpgcheck=0 enabled=1 [root@test3 yum.repos.d]# yum -y install httpd
后续也可以进行其他测试


评论前必须登录!
注册