 网硕互联帮助中心
项目场景:
通常从oracle官网下载的工具是基于x86架构。在鲲鹏arm平台上,直接使用vdbench50406,会产生“缺少aarch64.so文件”的报错。 因此,若想正常使用,这里需要解决“aarch64.so”重新编译的问题。
问题描述
1.缺少共享库“aarch64.so”而产生的报错: 例如:
root@client:~$ ./vdbench –t
Copyright (c) 2000, 2018, Oracle and/or its affiliates. All rights reserved.
Vdbench distribution: vdbench50406 Tue June 05 9:49:29 MDT 2018
For documentation, see 'vdbench.pdf'.
15:11:24.571 Created output directory '/xxx/output'
15:11:24.720 input argument scanned: '-f/tmp/parmfile'
15:11:24.870 Starting slave: /xxx/vdbench SlaveJvm –m localhost –n localhost–10–190124–15.11.24.528 –l localhost–0 –p 5570
15:11:24.892
15:11:24.893 File /xxx/linux/aarch64.so does not exist.
15:11:24.893 This may be an OS that a shared library currently
15:11:24.893 is not available for. You may have to do your own compile.
15:11:24.893 t: java.lang.UnsatisfiedLinkError: Can't load library: /xxx/linux/aarch64.so
15:11:24.893
15:11:24.894 Loading of shared library /home/me/linux/aarch64.so failed.
15:11:24.894 There may be issues related to a cpu type not being
15:11:24.894 acceptable to Vdbench, e.g. MAC PPC vs. X86
15:11:24.894 Contact me at the Oracle Vdbench Forum for support.
15:11:24.894
15:11:25.397
15:11:25.397 Failure loading shared library
15:11:25.398
java.lang.RuntimeException: Failure loading shared library
at Vdb.common.failure(common.java:350)
at Vdb.common.get_shared_lib(common.java:1103)
at Vdb.Native.<clinit>(Native.java:31)
at Vdb.common.signal_caller(common.java:737)
at Vdb.ConnectSlaves.connectToSlaves(ConnectSlaves.java:98)
at Vdb.Vdbmain.masterRun(Vdbmain.java:814)
at Vdb.Vdbmain.main(Vdbmain.java:628)
原因是vdbench根目录下/linux/linux64.so是为x86编译的,需要重新编译linux64.so
root@client:~$ file linux/linux64.so
linux/linux64.so: ELF 64–bit LSB shared object, x86–64, version 1 (SYSV), dynamically linked, BuildID[sha1]=34a31f32956f21153c372a95e73c02e84ddd29f8, not stripped
ARM版本的aarch64.so编译
下载,解压源码包: 需要同意license 下载地址:https://www.oracle.com/downloads/server-storage/vdbench-source-downloads.html 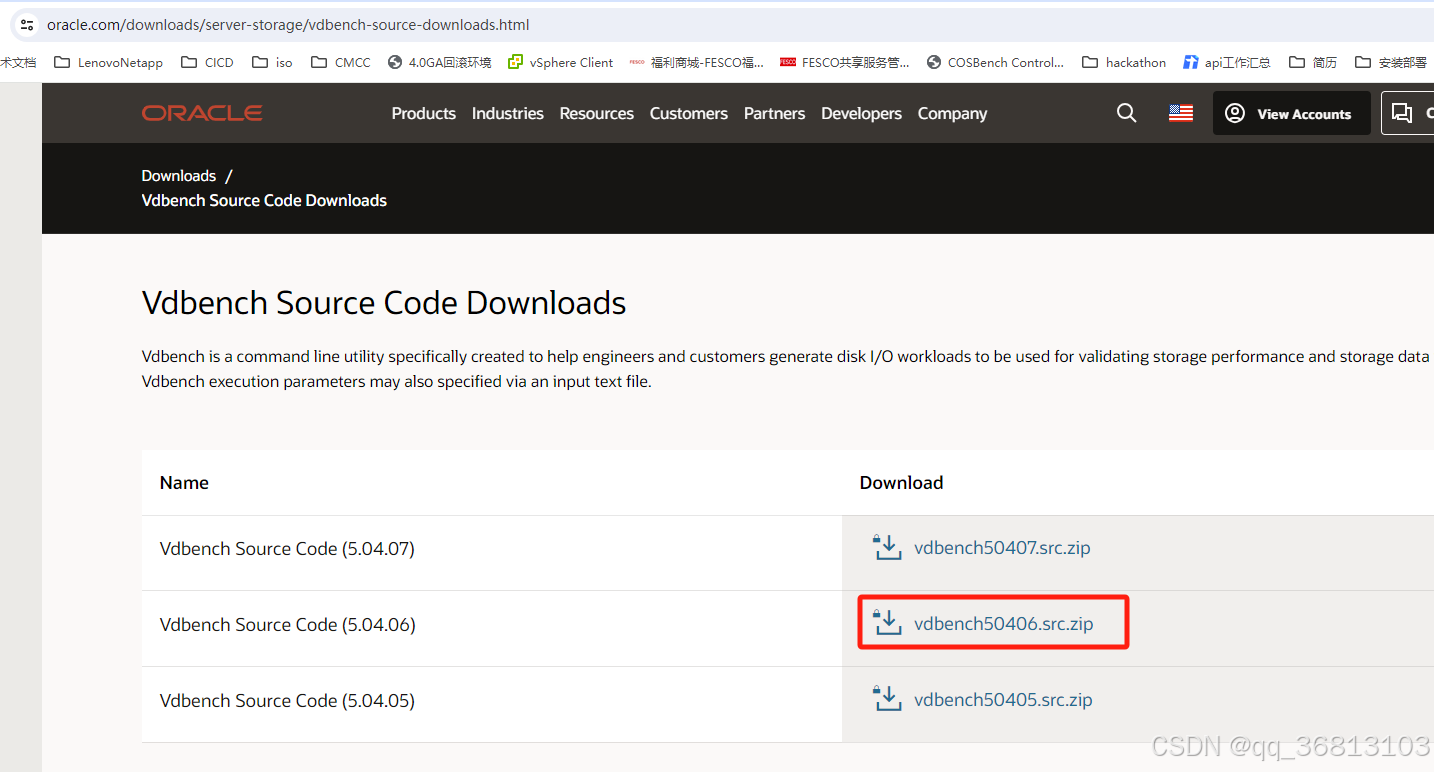
unzip vdbench50406.src.zip
进入src创建linux目录
cd src/
mkdir linux
进入Jni修改make.linux。主要修改: + 修改vdb为源码包src的路径 + 修改java为jdk路径。一般在/usr/lib/jvm/下 + 去除-m32和m64选项
cd Jni/
vim make.linux
参考如下修改方法:
###修改1###
—– vdb=$mine/vdbench504
—– java=/net/sbm–240a.us.oracle.com/export/swat/swat_java/linux/jdk1.5.0_22/
+++ vdb=/home/user1/open_software/vdbench/src
+++ java=/usr/lib/jvm/java–1.8.0–openjdk–1.8.0.232.b09–0.el7_7.aarch64/
###修改2###
—– INCLUDES32="-w -m32 -DLINUX -I$java/include -I/$java/include/linux -I/usr/include/ -fPIC"
—– INCLUDES64="-w -m64 -DLINUX -I$java/include -I/$java/include/linux -I/usr/include/ -fPIC"
+++ INCLUDES32="-w -DLINUX -I$java/include -I/$java/include/linux -I/usr/include/ -fPIC"
+++ INCLUDES64="-w -DLINUX -I$java/include -I/$java/include/linux -I/usr/include/ -fPIC"
###修改3###
—– gcc –o $vdb/linux/linux32.so vdbjni.o vdblinux.o vdb_dv.o vdb.o chmod.o –lm –shared –m32 –lrt
+++ gcc –o $vdb/linux/linux32.so vdbjni.o vdblinux.o vdb_dv.o vdb.o chmod.o –lm –shared –lrt
###修改4###
—– gcc –o $vdb/linux/linux64.so vdbjni.o vdblinux.o vdb_dv.o vdb.o chmod.o –lm –shared –m64 –lrt
+++ gcc –o $vdb/linux/linux64.so vdbjni.o vdblinux.o vdb_dv.o vdb.o chmod.o –lm –shared –lrt
执行make.linux,会在src/linux/下生成linux32.so和linux64.so文件,我们这里需要的是生成的64位的文件。 但这里会产生报错:
[root@client Jni]# ./make.linux
target directory: /tmp/test50406/src
Compiling 32 bit
In file included from /tmp/test50406/src/Jni/vdbjni.c:13:
/tmp/test50406/src/Jni/vdbjni.h:89:16: error: duplicate ‘unsigned’
#define ushort unsigned short
^~~~~~~~
/tmp/test50406/src/Jni/vdbjni.h:89:25: error: duplicate ‘short’
#define ushort unsigned short
^~~~~
/tmp/test50406/src/Jni/vdbjni.h:87:16: error: duplicate ‘unsigned’
#define uint unsigned int
^~~~~~~~
/tmp/test50406/src/Jni/vdbjni.h:87:25: error: two or more data types in declaration specifiers
#define uint unsigned int
^~~
In file included from /tmp/test50406/src/Jni/vdblinux.c:18:
/tmp/test50406/src/Jni/vdbjni.h:89:16: error: duplicate ‘unsigned’
#define ushort unsigned short
^~~~~~~~
/tmp/test50406/src/Jni/vdbjni.h:89:25: error: duplicate ‘short’
#define ushort unsigned short
^~~~~
/tmp/test50406/src/Jni/vdbjni.h:87:16: error: duplicate ‘unsigned’
#define uint unsigned int
^~~~~~~~
/tmp/test50406/src/Jni/vdbjni.h:87:25: error: two or more data types in declaration specifiers
#define uint unsigned int
^~~
In file included from /tmp/test50406/src/Jni/vdb_dv.c:13:
/tmp/test50406/src/Jni/vdbjni.h:89:16: error: duplicate ‘unsigned’
#define ushort unsigned short
^~~~~~~~
/tmp/test50406/src/Jni/vdbjni.h:89:25: error: duplicate ‘short’
#define ushort unsigned short
^~~~~
/tmp/test50406/src/Jni/vdbjni.h:87:16: error: duplicate ‘unsigned’
......
根据报错内容,我们需要再次修改源码包中的‘’vdbjni.h‘’文件。 修改如下:
###将这三句话注释掉##
#define uint unsigned int
#define uchar unsigned char
#define ushort unsigned short
###替换成这三句话###
typedef unsigned int uint;
typedef unsigned char uchar;
typedef unsigned short ushort;
如图: 
再次编译即可通过:
root@client:~/vdbench50406/src/Jni$ ./make.linux
target directory: /xxx/vdbench50406/src/
Compiling 32 bit
Linking 32 bit
Compiling 64 bit
Linking 64 bit
cp linux64.so aarch64.so
cp aarch64.so ~/vdbench50406/linux/
这里我们将生成的linux64.so重命名为aarch64.so并复制到二进制包(注意不是源码包)的linux/目录下即可。
放到这个位置:  再次验证即可正常使用。


评论前必须登录!
注册